- No products in the cart.

My friend Heather over at The Sewing Loft is celebrating National Sewing Month and her theme this year is Scraps. I will have a project later in the month to help her celebrate, but as I was sewing it, my mind went to scraps. Not literally, well maybe :), but I meant I started thinking about different ways I could use scraps. I like to use scraps a lot, do you?
One of the ways I had been using scraps was in my Wonky Blocks. I sewed up a bunch of fabric strips for those, one thing led to another and the next thing I knew I was making a bookmark. Want to make one? Here's how you make one.

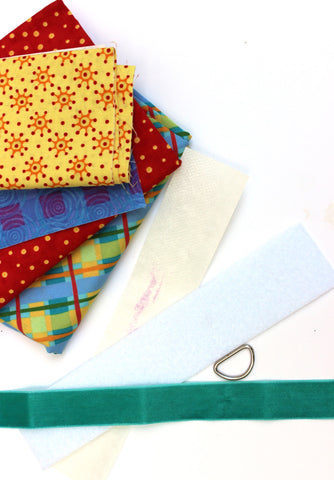
Supplies:
Fabric Scraps
Ribbon Scraps
Felt Scraps
Fusible Peltex or another heavyweight stabilizer (see below if you don't have fusible Peltex on hand)
Heat n Bond if using regular Peltex
3/4 "D" ring
3/4" button

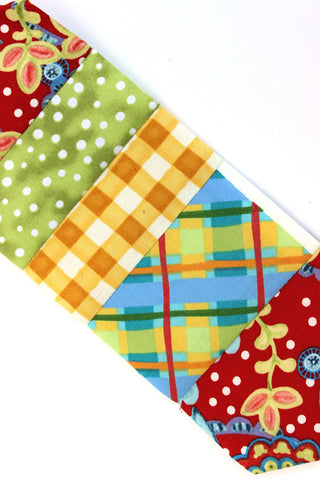
1. Start by sewing strips of fabric together. Sew enough together that you can cut a 3 1/2" x 9 1/2" rectangle. Cut the rectangle.
2. Cut the Peltex 1 1/2" x 8". Side Note: I didn't have fusible Peltex that day so I made my own. If you're using regular Peltex like I was, then cut a piece of Heat n Bond paper backed fusible webbing as well the same size. Iron the fusible webbing to the Peltex, peel the paper off. Now you're set to continue on.

3. Place the fusible side up in the center of the fabric rectangle. Fold over the two shorter sides and press onto the Peltex. Be careful to keep your iron just on the fabric so it doesn't get sticky.

4. Fold the corners in, like you are wrapping a present and press. Next fold one of the longer sides over and press to secure. Repeat this for the second side as well.

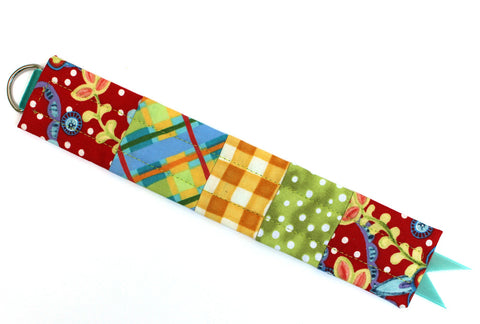
5. Fold one end of ribbon over approximately 1" and slide the "D" ring on to the ribbon. Pin the ribbon down the side of the book mark that has the raw edges to cover them. The "D" ring should be just off the top of the bookmark. Sew around the edges to secure. Trim a notch in the end of the ribbon.

The back should look like this.

6. Sew another piece of ribbon down the middle if you like.

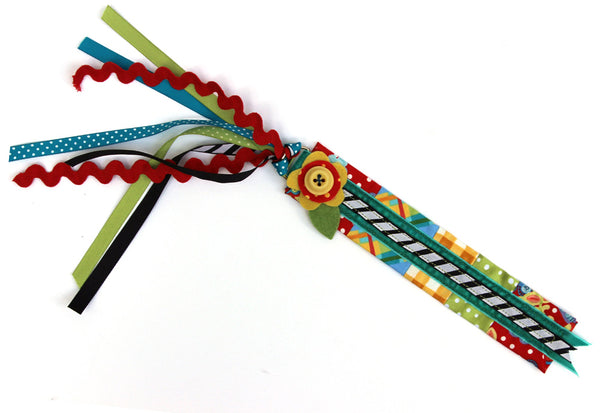
7. Cut out a little felt flower just larger than your button and a leaf. I added a scrap of fabric that I cut in a circle as well. Stack all of these up and stitch to the bookmark.

8. Add ribbons to the ring by folding them in half to make a loop. Slid the loop into the ring and bring the ends of the ribbons through the loop. Pull snug to secure.

You've got a bookmark!
These trims are available in my shop here and the fabrics can be found here.
Have fun!

