- No products in the cart.
I've got a two projects for one this week.
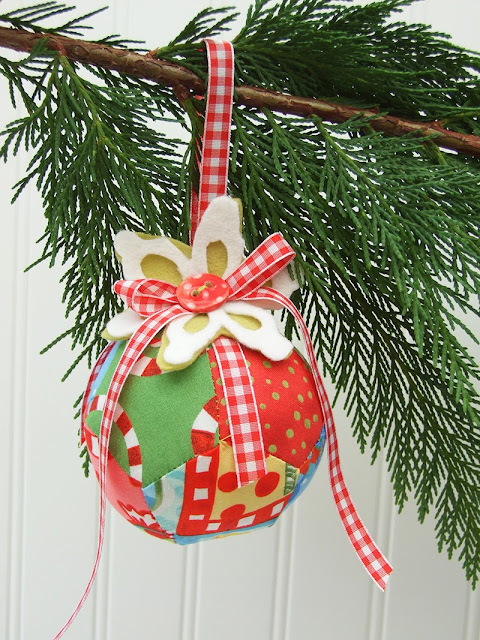
This weeks holiday projects is this little ball ornaments tutorial. The ball is made from 12 pentagons sewn together. This makes this pattern really easy to adjust to any size you would like. The pattern pieces below are are all ready for you to print in the size of the ornament, which is a 4 inch ball. The snowflake embellishments are included as well in the printable pieces.
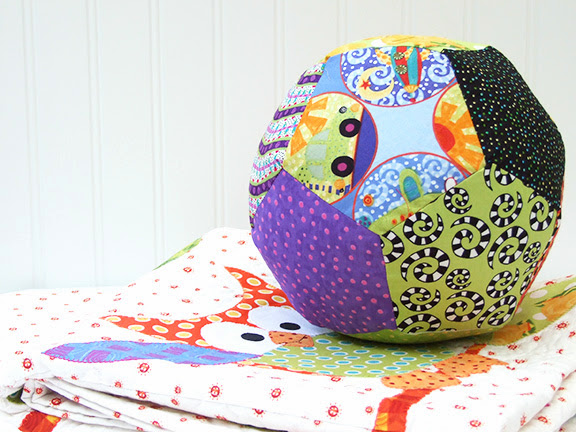
While I was sewing up my ornament, I decided to make my nephew a larger ball for rolling on the floor. I have included the larger pentagon for this in the printable pattern pieces as well. The play ball measures approximately 8 inches in diameter.
Once you sew up one, you will want to make more. Here's the how-to....
Supplies:
Fabric scraps( size and amount depends on what size ball)
Fiberfill
Needle and Thread or Sewing Machine
2 colors of felt 3" x 3" For Ornament only
Ribbon measuring approximately 24" For Ornament only
1 small ceramic button 3/4" For Ornament only
Instructions:
1. Cut 12 pentagons using the Pattern Pieces. A 1/4 inch seam allowance is built in to the piece.

Basically, all of the pieces will be sewn together to create the ball. So it doesn't get confusing sewing all of the pentagons together I think it's easiest to sew the two halves of the ball separate and then join the two middles together. Also, I find these almost just as easy to hand stitch if you're looking for a project to take on the go.
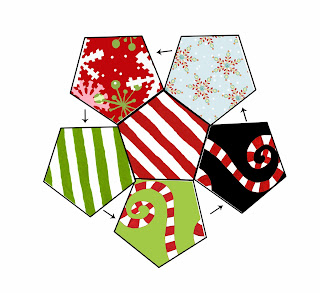
2. Choose one pentagon to sew five of the other pentagons edges to with right sides facing together.
3. Once the five seams are sewn, go back and sew the right sides together of the five pentagons together as shown below.
4. You now have one half of your ball sewn. Set this one aside and sew the second half of the ball following steps 2. and 3. again.
5. Now it is time to join the two halves together. They will fit together in a zig zag pattern. There's a black and white drawing below to help you see the pattern. Pin the right sides together all of the way around the ball to make sure you have it joined correctly. Once you do, sew the edges together, leaving a couple a section open for turning and stuffing.
6. Clip and corners and loose threads. Turn the ball so that it is right sides out and fill with fiberfill.
Hand sew the opening closed.
7. For the ornament version of the ball, cut the ribbon in half. Tie a bow with one half of the ribbon and the other half will be folded to make the ornament hanging loop. Tack stitch these onto the sewn ball along with the felt flakes and button.
Enjoy!
Here are the printable Pattern Pieces again.
Visit my Website, Etsy Shop, Blog, Facebook


