- No products in the cart.


We are starting off the holiday projects this week, wahoo! I came up with this one about a month ago and got super excited about the idea. When I sat down to make the project I had so much fun, I know it's a good one when I am laughing and smiling through making it. I hope you have as much fun as I did making these.
If you're like me, you'll be doing a lot of sewing this season making gifts, decorations, and more. Well then, let's start by decorating our machine.
Everyone's machine is a little different. I have two machines and they are both different in the way they hold thread, display information, etc so you might have to be creative in he way you decorate compared to how I did mine.

I wanted to make sure that my decorations did not hinder my sewing, so think of that when decorating. Your tree could always sit in front of the machine, etc...you get the picture.
It's like we've got three mini projects in this one big project this week. You'll find pattern pieces for the tree here and the wreath here. You can print them all on 8.5" x 11" standard paper. Here's what you'll need and how to make it for each project.
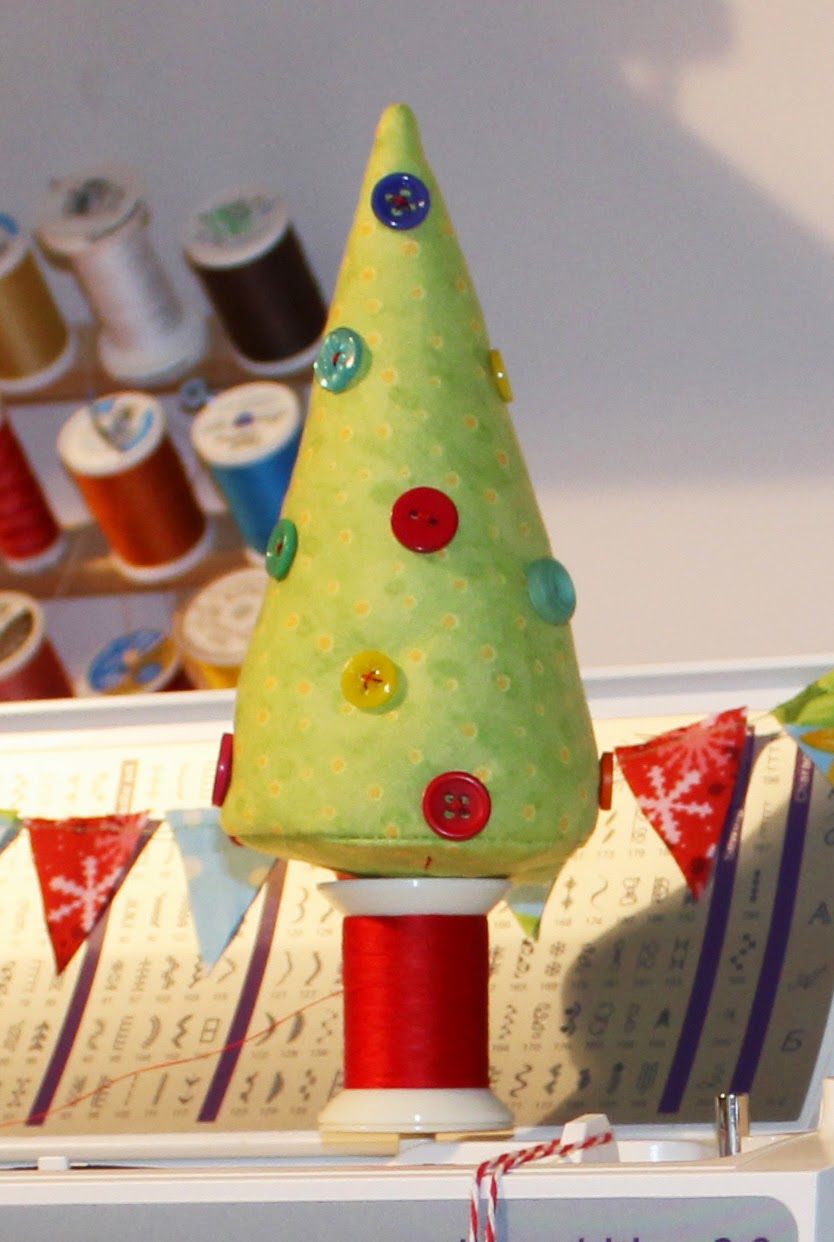
Stuffed Tree
Supplies:
8" x 8" green fabric
Fiberfill
12-15 assorted buttons approx. 1/2"
Coordinating Thread
Instructions:
1. Cut out the fabric according to the pattern pieces.
2. Align the two straight sides of the cone shape. Pin and sew down the side leaving a two inch gap in the sewing. (You will use this for turning and filling later.)
3. Optional: Make a button hole in the middle of the round tree piece approximately 1" in length.
4. Pin and sew the bottom onto the tree. Clip the raw edges very 1/4" and then turn right side out.
5. Fill the tree with fiberfill. Hand stitch opening closed. Hand stitch buttons all around the tree.

6. If you did not make a button hole on the bottom of the tree, then cut a slit in the bottom of the tree approximately 1" if you're going to put your tree on the thread holder.
Note: Take a pencil or stuffing stick and push up in the hole to clear out some space for the tree to sit on the thread holder.
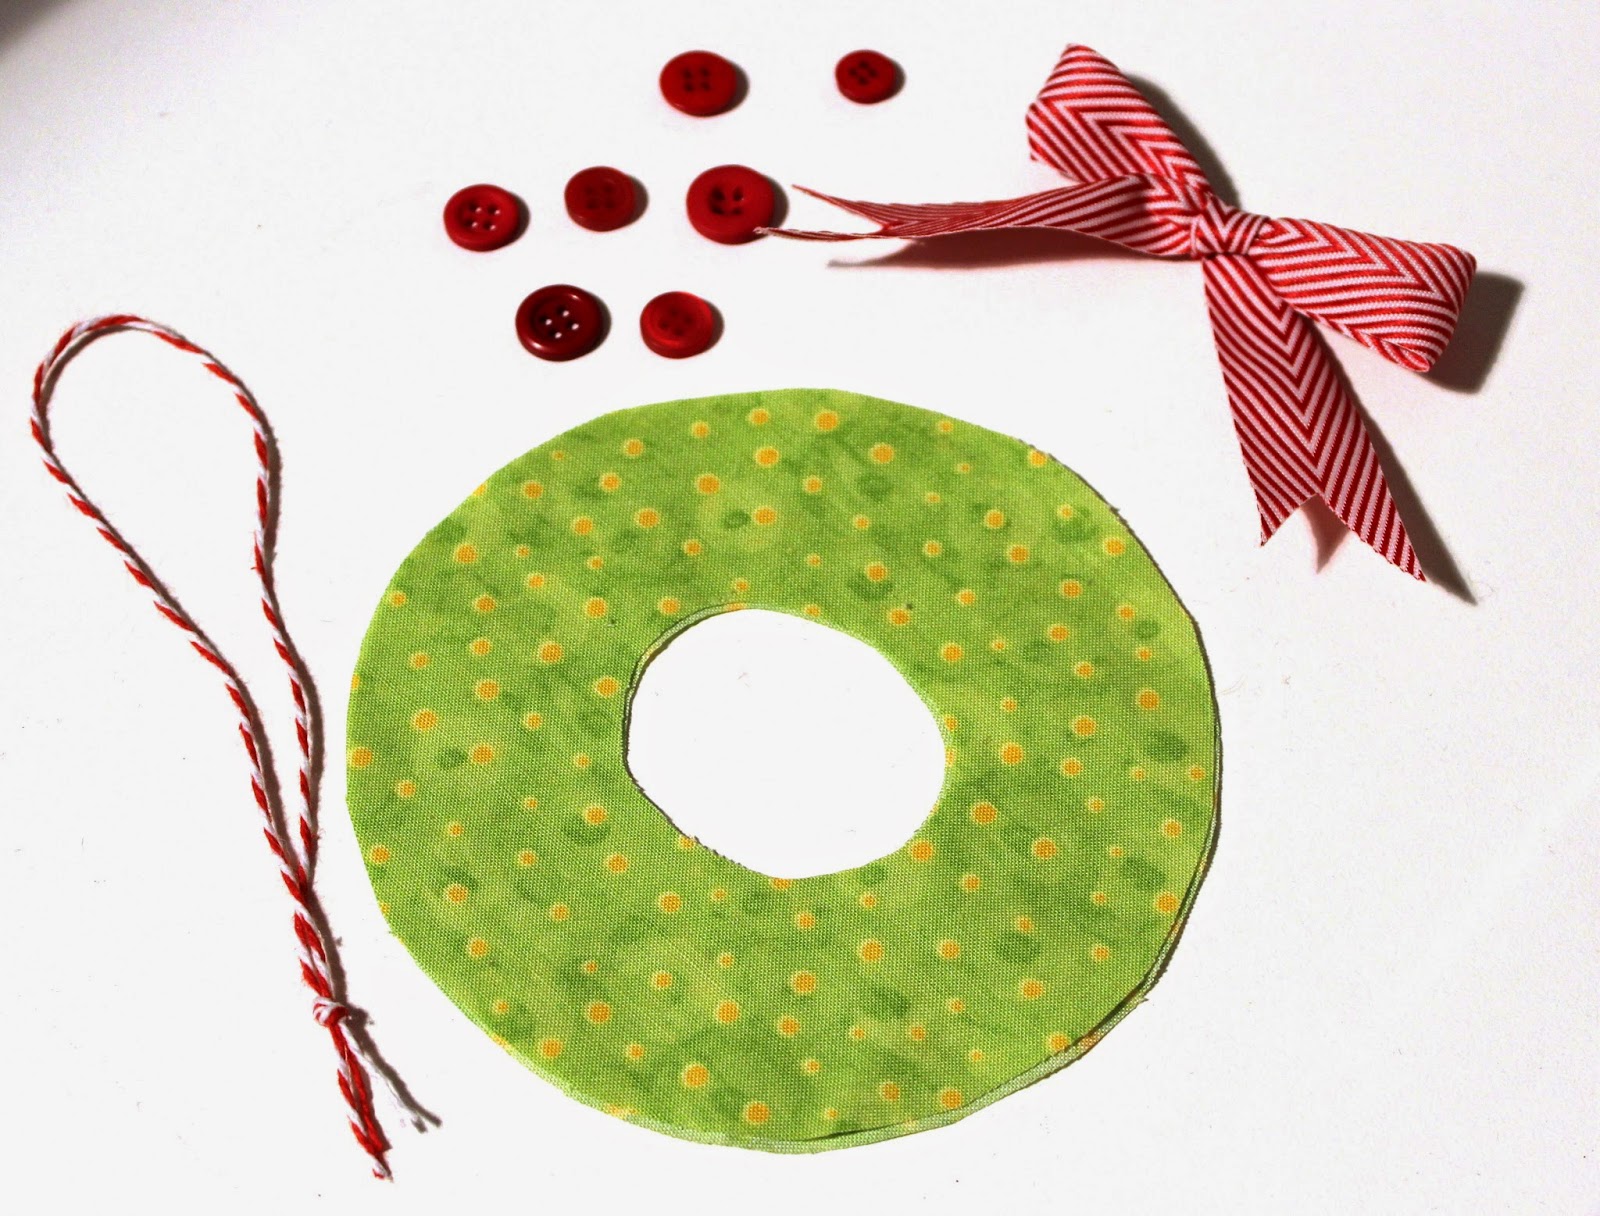
Wreath Ornament
Supplies:
6" x 6" fabric
Fiberfill
7 buttons 1/4 - 1/2" diameter
10" ribbon
12" bakers twine
Coordinating Thread
Instructions:
1. Cut out 2 wreath pieces. Place the two together with right sides facing outward. Sew around the inside circle using a 1/4: seam allowance.
2. Fold the twine in half and tie a knot at the ends. Tuck the knotted ends into the wreath so it will be inside the wreath when you sew around the outside.
3. Sew around the outside circle leaving a 2" gap for stuffing.
4. Stuff the wreath,(you'll probably need to use a pencil or stick to help with this.)
5. With your machine sew the 2" opening closed.
6. Hand stitch the buttons and bow onto the wreath.
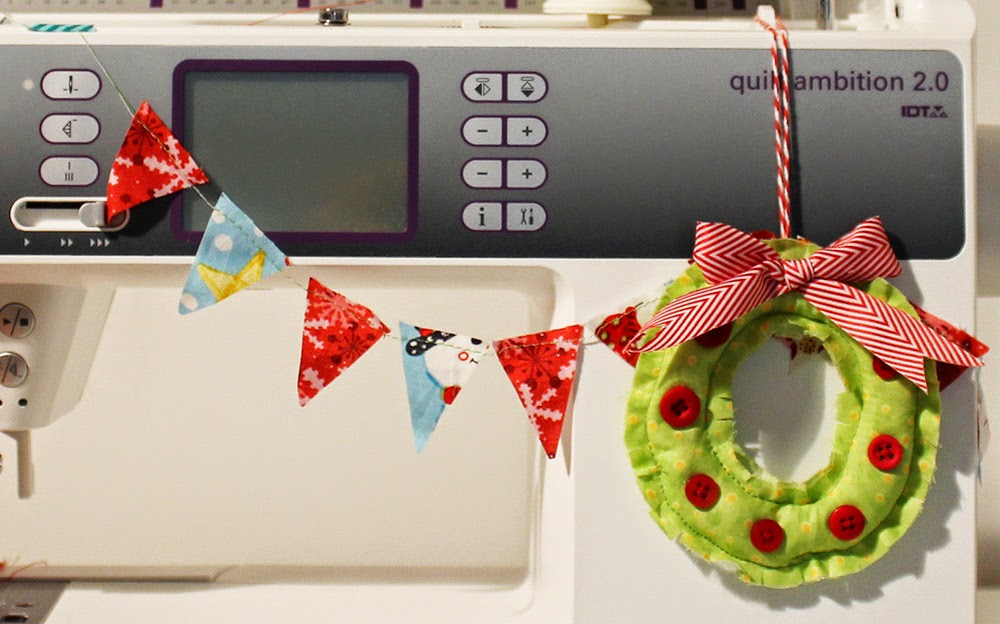
Bunting
Supplies:
Assorted Scrap fabric
Thread

Instructions:
1. Cut a strip of fabric that is 1 1/2" wide, length doesn't matter.
2. Go back and cut at an angle to make a triangle. Cut as many triangles as you need using this method from your fabrics.
3. Leave a long tail of thread when you start sewing, sew across the top pf the first flag, place the second flag in front of the first and sew across the top as well. Continue this method until you have the length you need. Leave a long tail of thread again.
4. Using wash tape or another tape that won't leave residue tape the buying onto your machine.
Pin it so you can make it later.

Enjoy!

Visit my Website, Etsy Shop, Blog, Facebook