- No products in the cart.
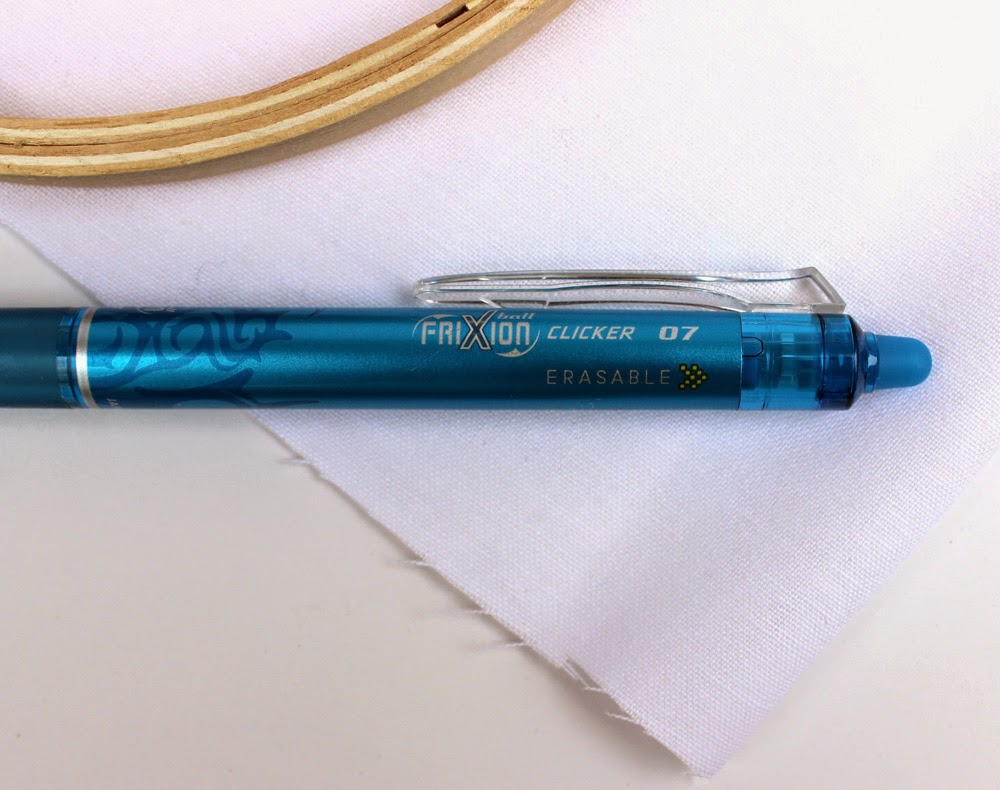
Yay! You're back! Are you ready to get started? First things first the design you want to embroider needs to get on to the fabric you want to stitch it on. I hope you've gotten to play around with the Frixion pens, they are super fun aren't they?
If you haven't had a chance, draw all over a fabric and then take your iron to the cloth. It disappears very quickly. I have read and been told that if you put the fabric into the freezer, you're pen drawings will come back, but I haven't tried that yet.
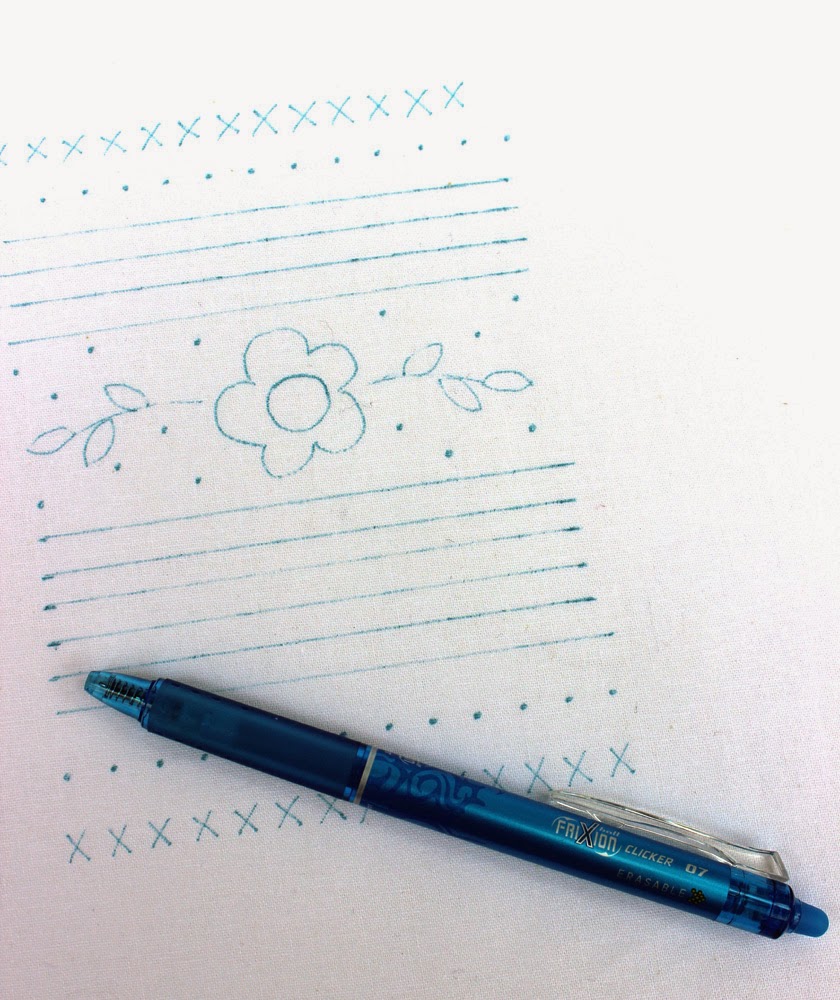
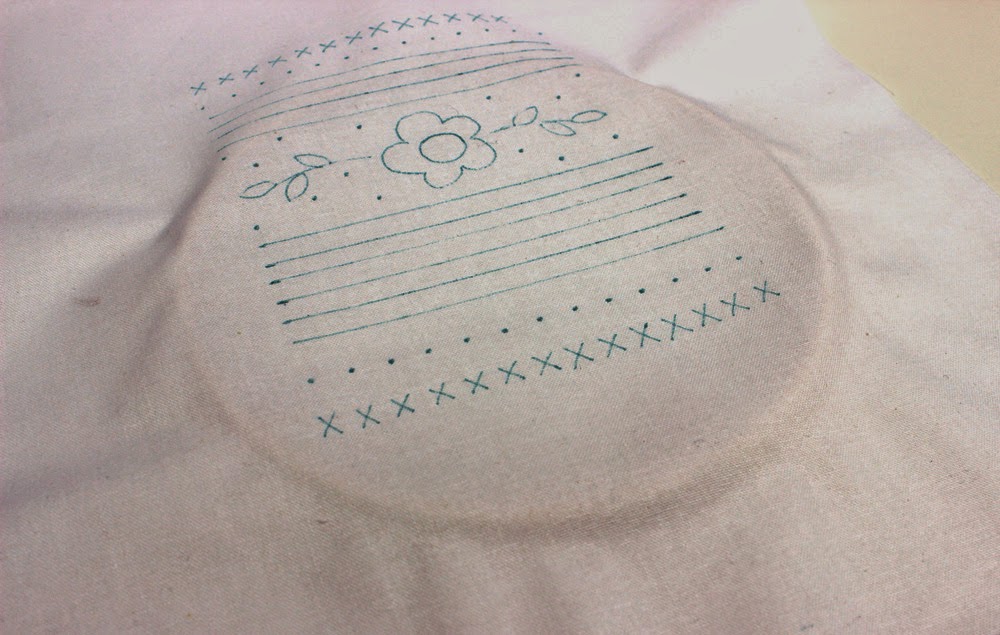
Place the fabric on top of the printed sampler. Arrange the fabric so the stitching will be in the center of the fabric. You can always tape the paper and the fabric to your work table so things don't wiggle. I like to live on the edge and just hold it steady with my hands. Trace all of the design with the pen.
Next, you'll want to get your design in the hoop. I mentioned earlier and I will mention this again just in case you missed it. I usually only stitch with one layer of fabric, but when I used white I like to double it up. For this piece I stacked two layers of fabric. That way the threads behind don't show through. This helps if you new or like me and don't really care how neat the back of the stitching is.
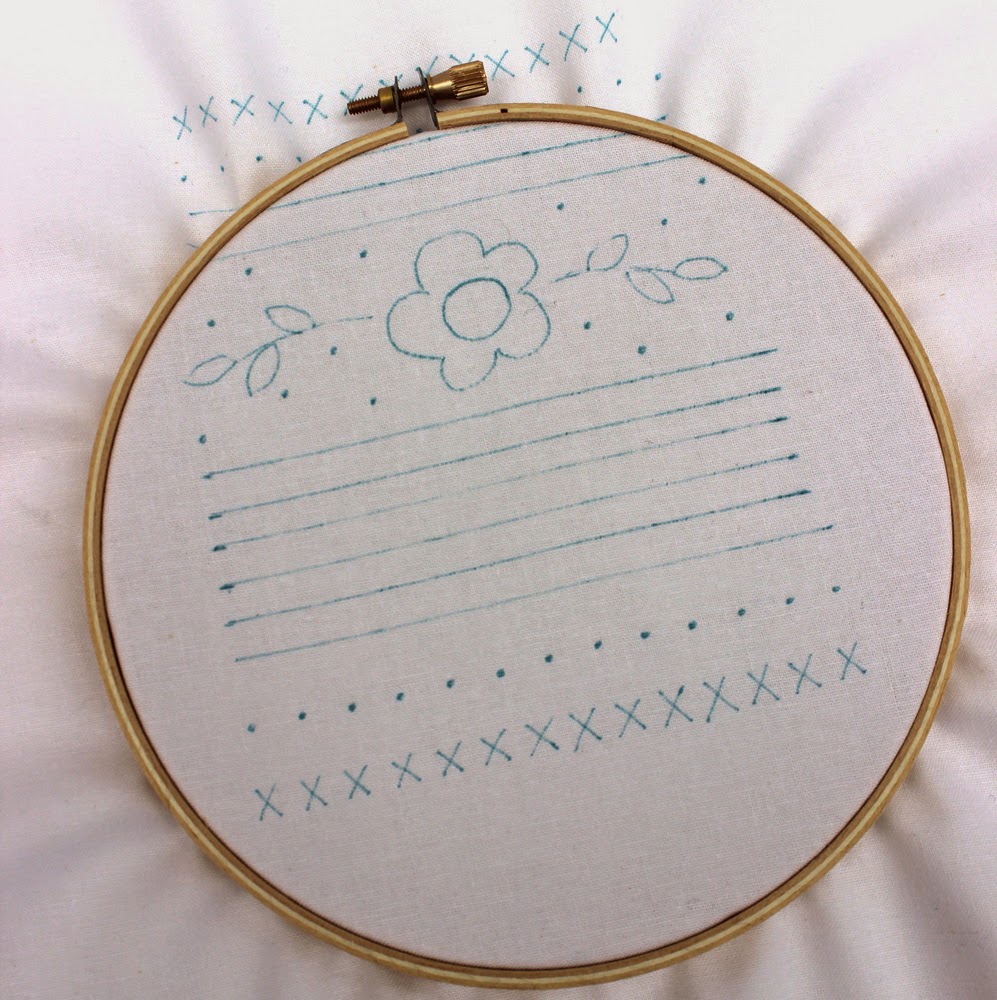
Take apart your embroidery hoop by loosening the screw at the top enough so that the top hoop comes off of the bottom. Were going to start stitching the six straight lines in the bottom half so place the fabric on top of the inner hoop so that the lines are in the middle.
Push the top hoop onto the bottom hoop. Finger tighten the screw to make things snug. Pull the edges of the fabric so the fabric in the center is taught. Now you can finger tighten the screw a little further.
As your stitching, the fabric will move some, every now and then you'll need to pull the edges again to stretch it again.
Get all that finished up and I will be back tomorrow with our first stitch, the running stitch.
Have a great day,
Visit my Website, Etsy Shop, Blog, Facebook


