- No products in the cart.
Hey, hey, back with another stitch today. Hope those running stitches turned out well for you yesterday and you're feeling confident with them. Today's stitch is the back stitch. It's personally my favorite and I use it all of the time. Sometimes I will do an entire pattern just with the back stitch.
I like it so much because it's a solid line. You can adjust the thickness of it with how many strands you use to stitch it. Let's get started.
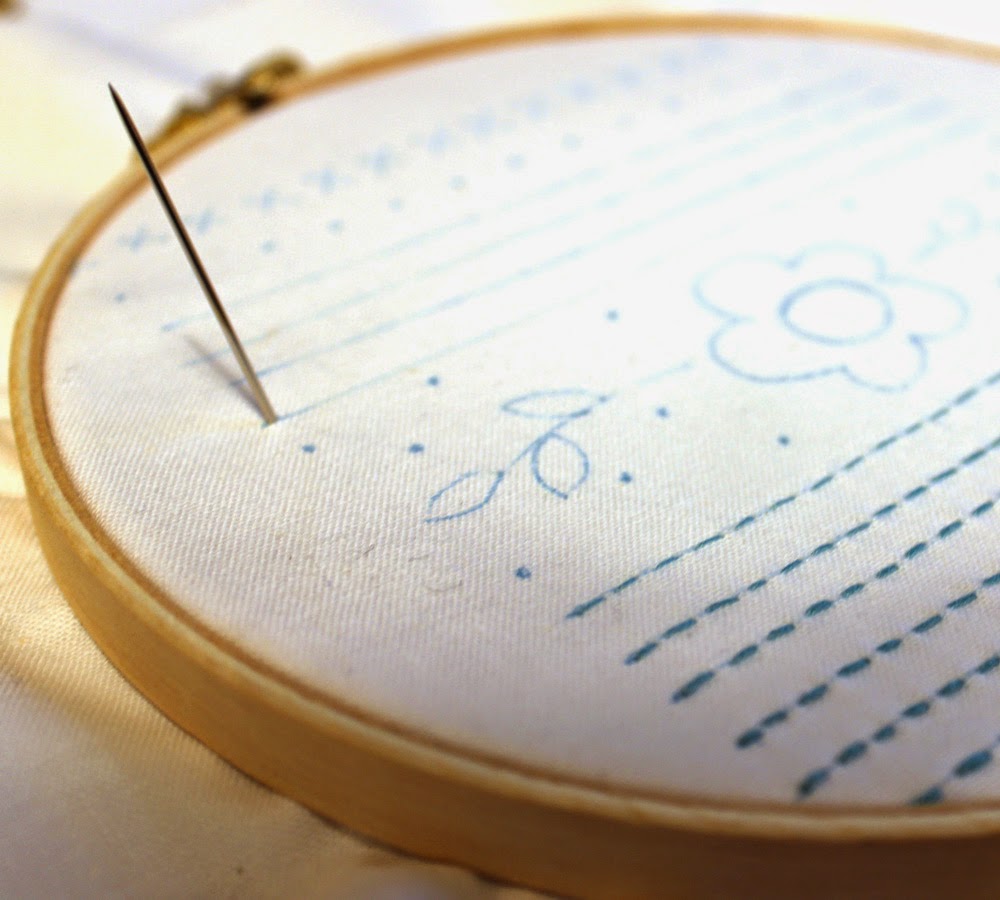
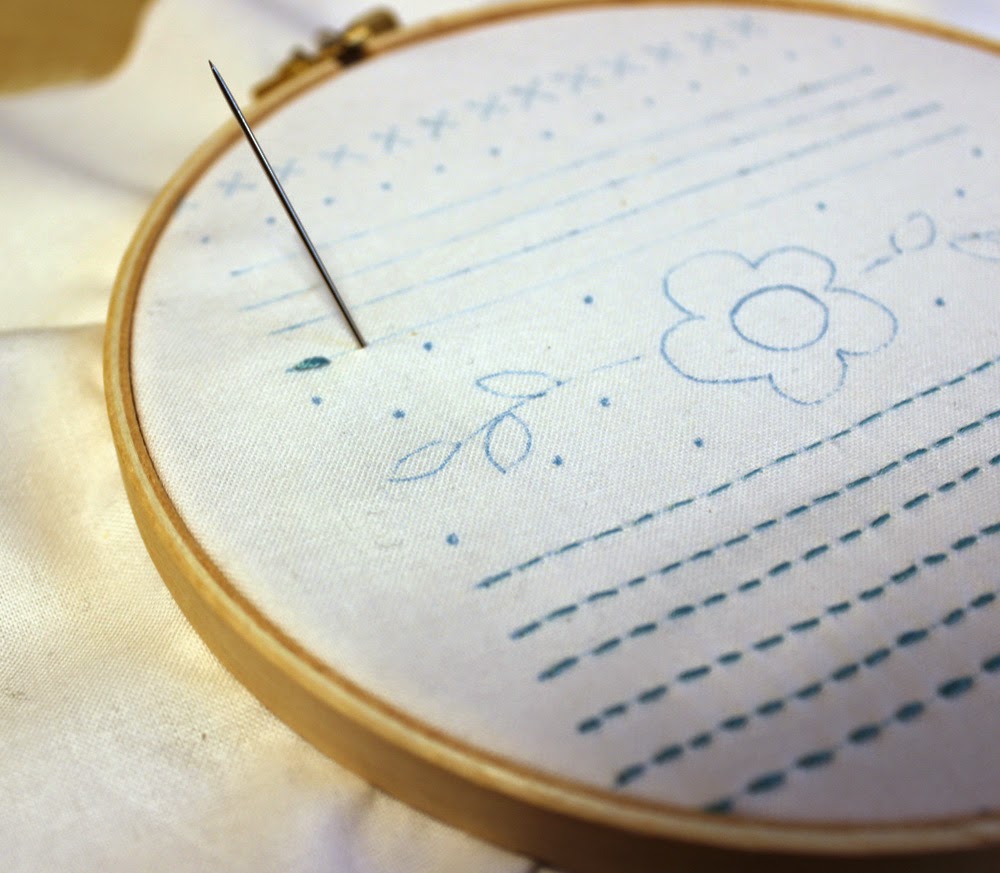
Just like yesterday, cut a 24" strand of floss and tie a knot at one end. Thread the opposite end through the needle. Pull it through approximately 10".
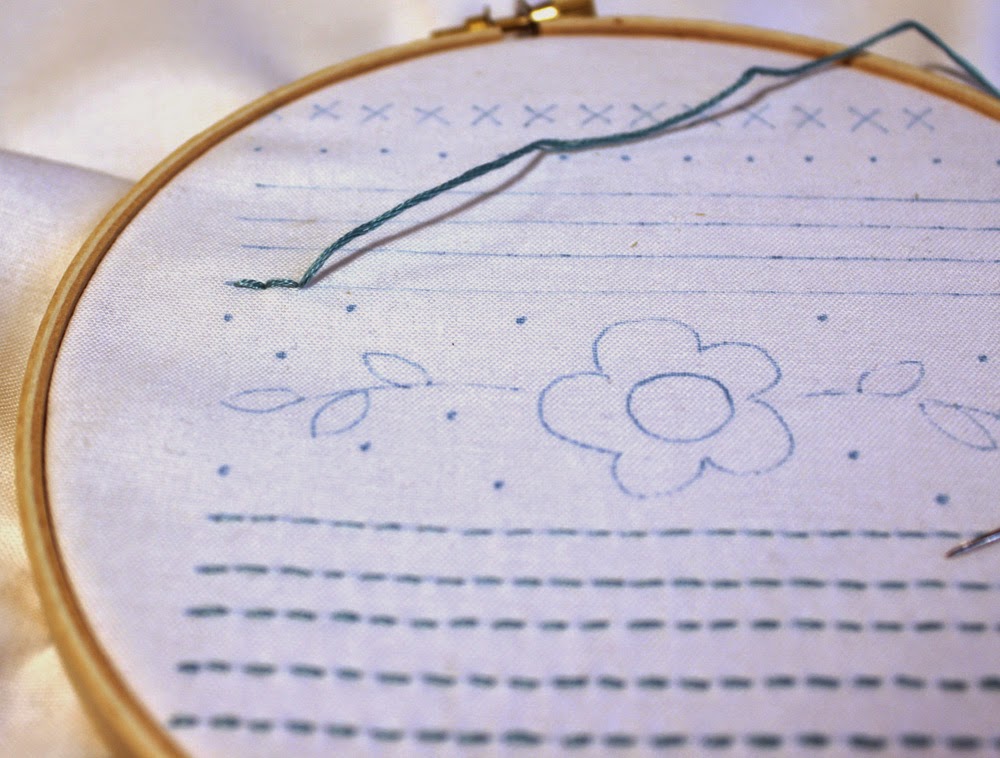
Start with a running stitch.
From the bottom, send the needle up through the fabric the same distance over as the length of the running stitch.
In otherwords, if your running stitch was 1/4" long, then send the needle up 1/4" from the stitch.
Now send the needle back down in the same hole that the first stitch went down in.
Come back up in the hole where the second stitch ends. Now start all over.... running stitch first.... here's a diagram to help as well.
For the sampler, you want to stitch two rows of the back stitch. You don't need to switch floss thickness for these.
Tomorrow is the split stitch! See you then,
Visit my Website, Etsy Shop, Blog, Facebook


