- No products in the cart.
The french knot.... I will admit this one took me some time to master. It can be tricky, but with practice you'll get the hang of where your hands should be and it will then turn in to something easy to do.
I choose to stitch my knots in purple. Here we go...
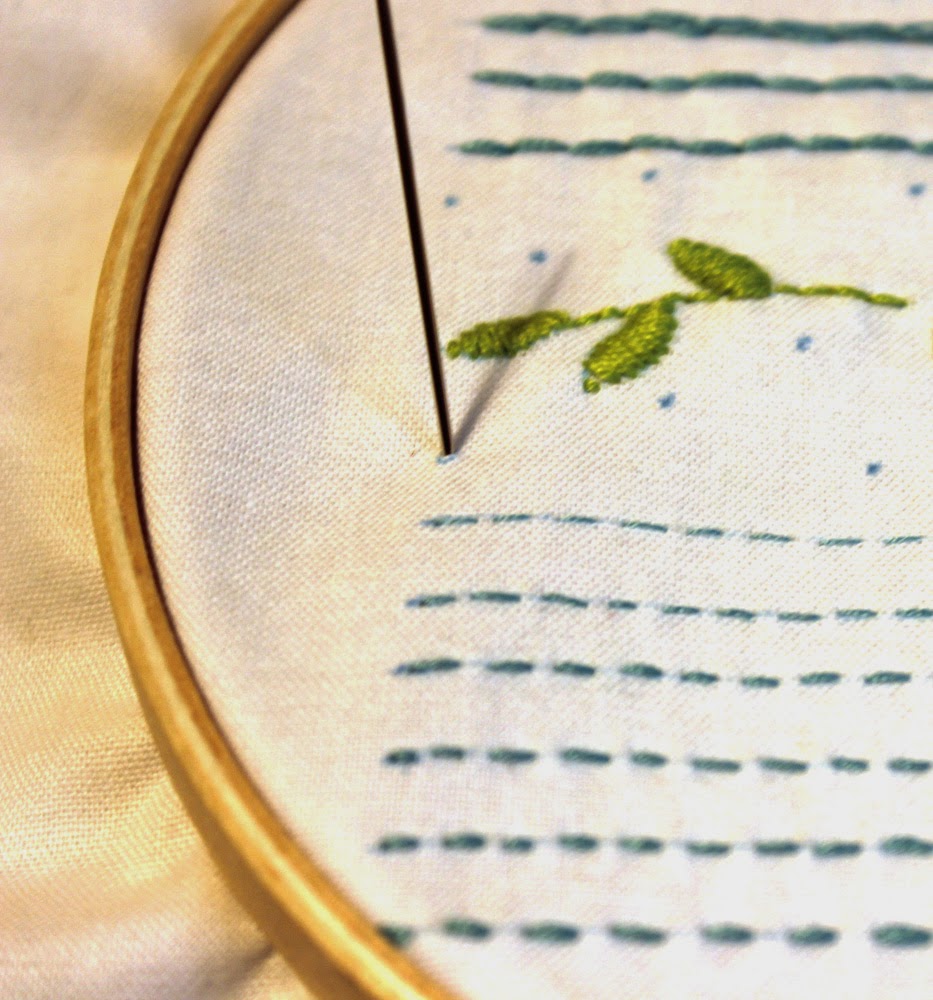
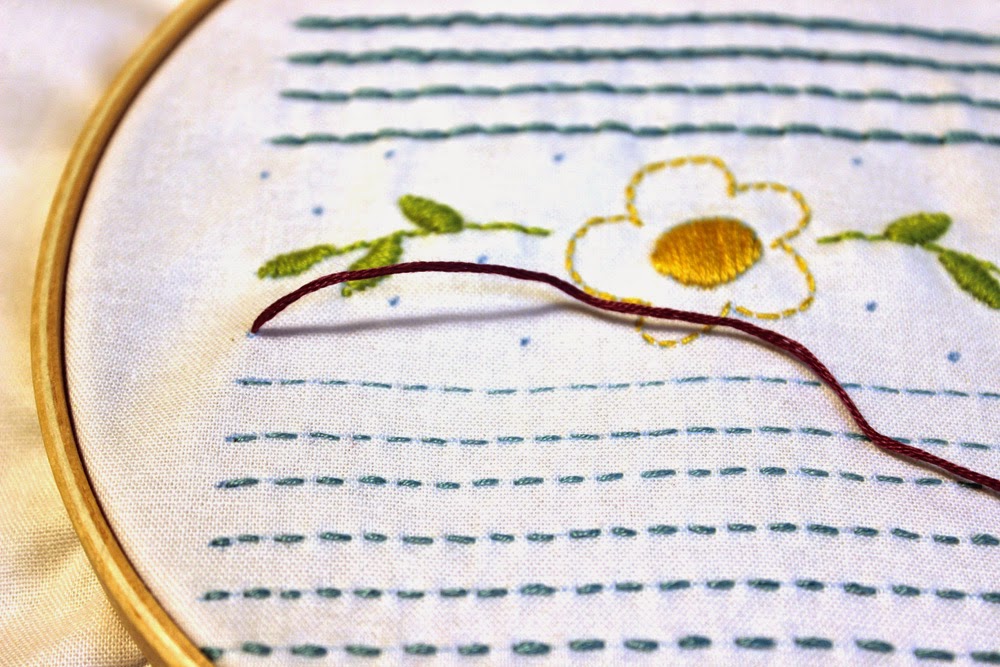
First, send the needle up from the bottom on one of the marked spots. Pull the floss all of the way through until the knot hits the fabric.
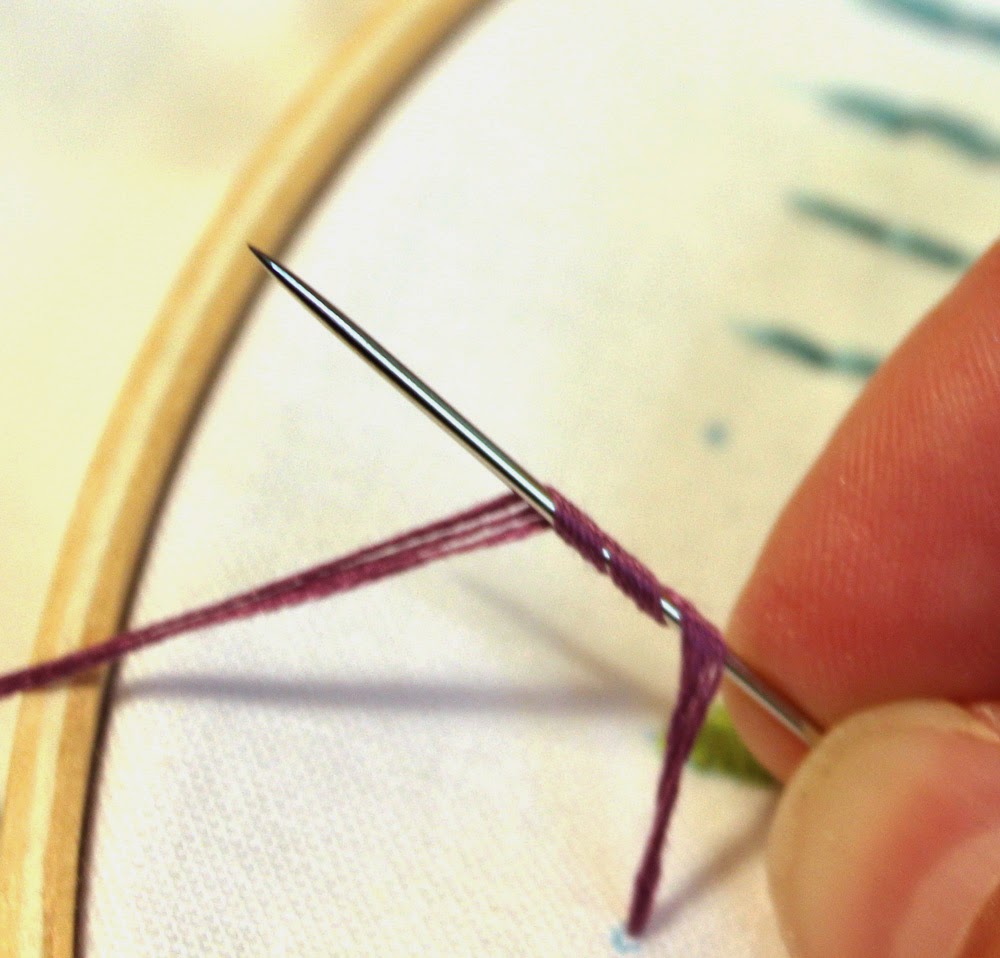
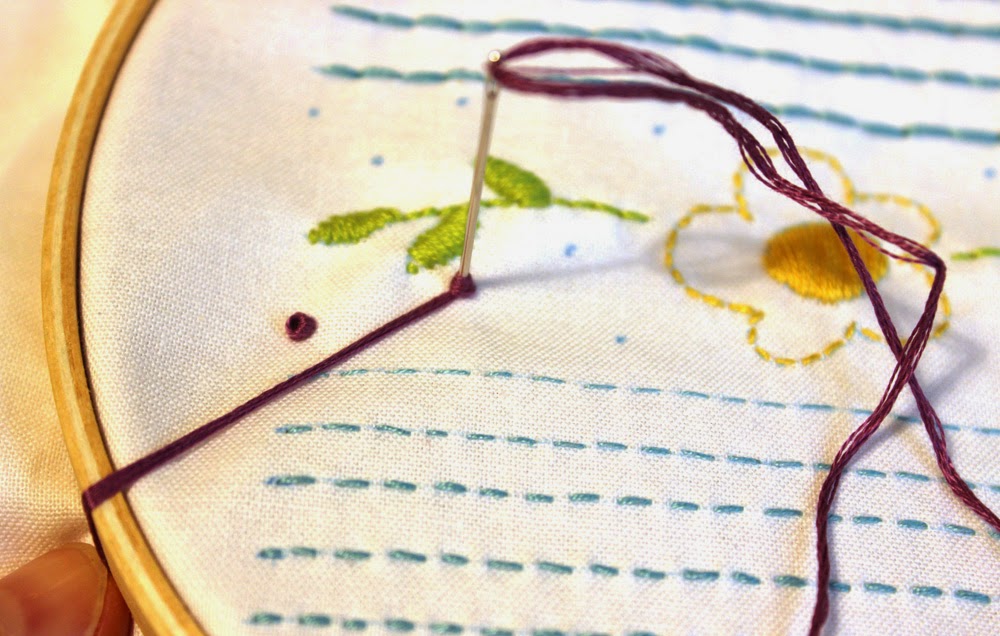
Approximately an inch above where you're french knot will be, hold the needle in one hand and with your other hand wrap the floss around the needle three times.
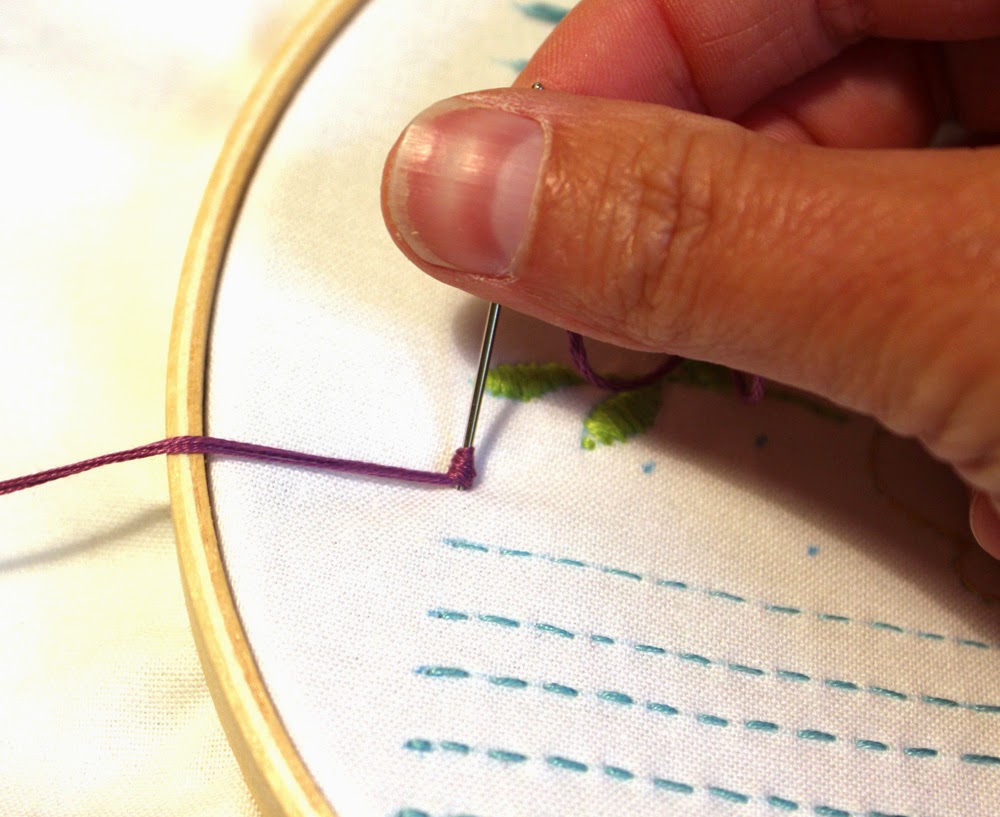
Here is the most important part, the hand holding the floss should continue to hold the floss, pull the floss pretty snug. The floss will slide down the needle, continue to keep the floss snug. Start pushing the needle into the fabric. At this point it should look like a knot on your needle, see the photo?
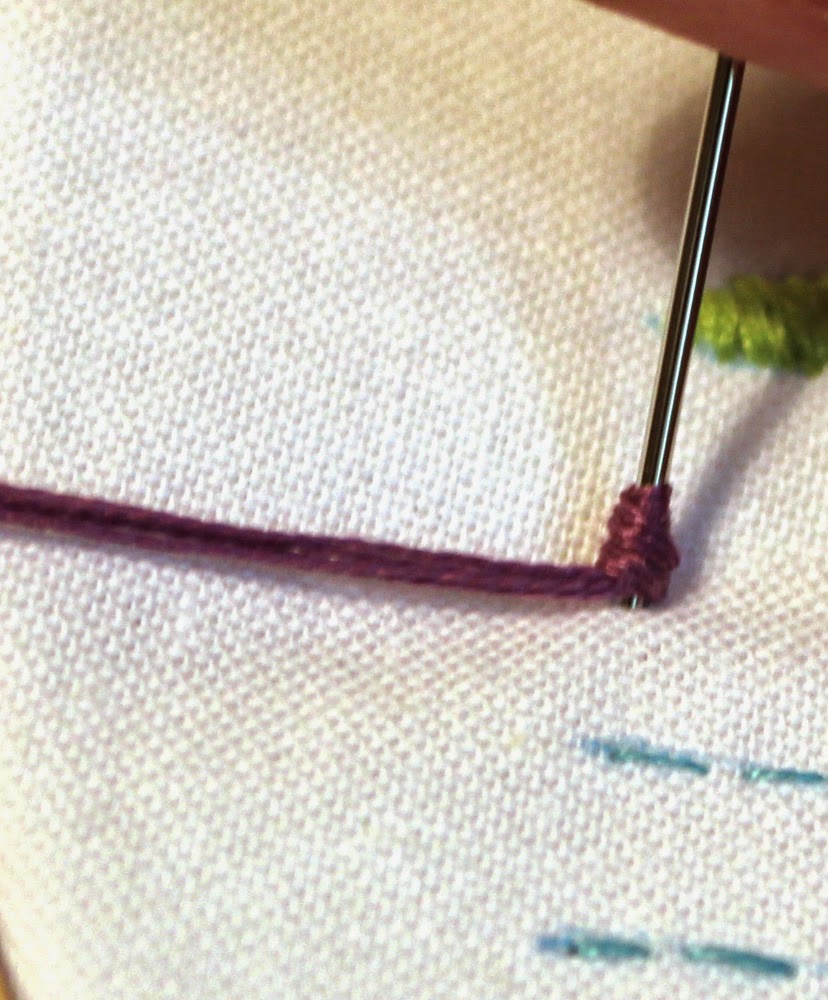
Here's a close up. If it doesn't look like this, your knot isn't going to turn out well, trust me on this. I have had to start over at this point many times.
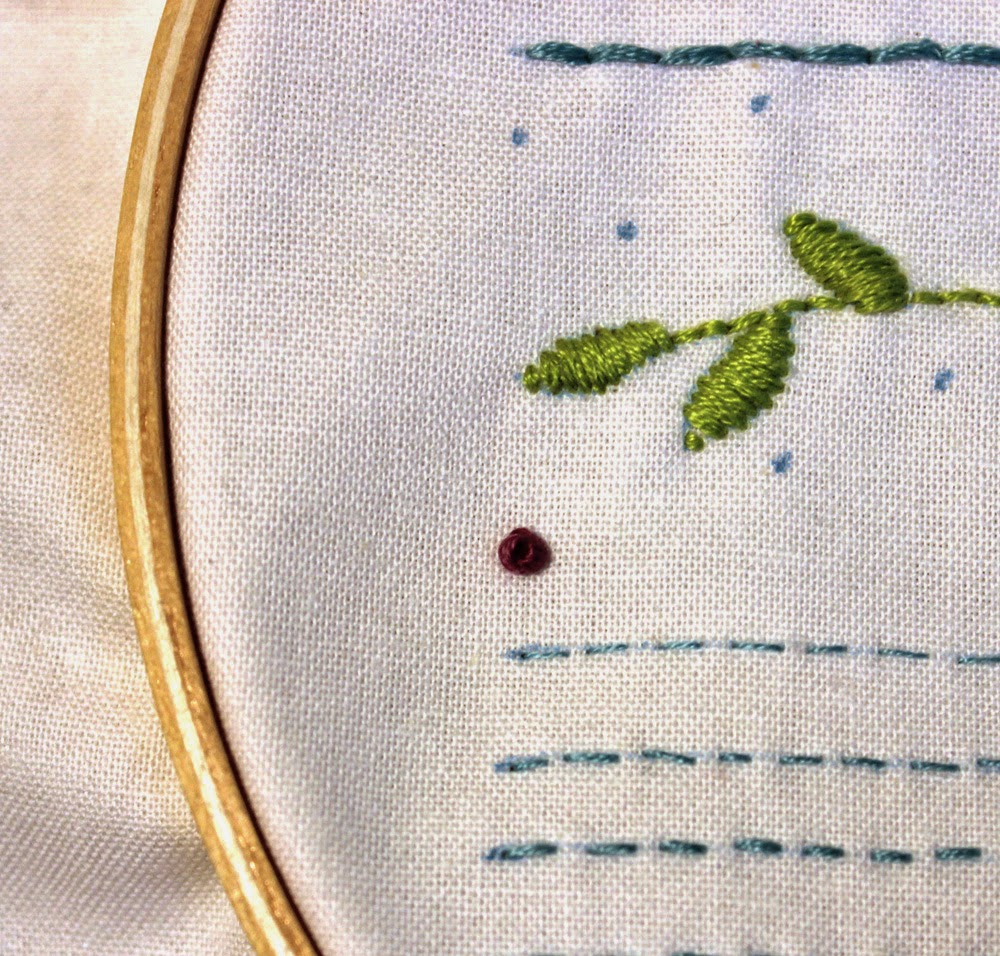
If your needle looks like this, then send the needle all the way through the fabric. Pull the floss all the way through and you should be left with your knot.
Move on to the next one and try another.
There are loads of knots on this sampler so you'll get the hang of it and be ready to stitch anything.
Here is a graphic as well.
One more stitch and we'll have this sampler wrapped up, yay! Hope you're having fun,
Visit my Website, Etsy Shop, Blog, Facebook


